A Beginner’s Guide to Encaustic Painting: Start with a Craft Iron
Are you curious about encaustic painting but unsure where to start? This blog and video below will help you, it’s a beginners guide to encaustic wax painting… Don’t worry—it’s easier (and more fun!) than you might think.
If you’ve never worked with wax before and don’t know where to begin, I always recommend starting with a simple, rewarding setup: wax blocks and a craft iron. It’s a fantastic way to explore this tactile and forgiving medium, especially for beginners who want quick and satisfying results.
Why Start with Wax Blocks and a Craft Iron?
Wax blocks, like those from Art Encaustic, are a perfect introduction to encaustic art. They’re affordable, come in 48 vibrant colours, and eliminate the need for mixing pigments. At roughly £1.50 per block, they’re a great starting point without breaking the bank. Combine these with a craft iron, and you have a versatile, user-friendly setup for creating stunning pieces of art in minutes.
Even if you think you “can’t paint a straight line,” this method will change your mind. The craft iron makes it easy to achieve instant, beautiful results, whether you’re a complete novice or someone looking for a relaxing, creative outlet.

[Applying wax with an Encaustic Iron]
Step-by-Step Guide to Painting with a Craft Iron
1. Set Up Your Workspace
Start by plugging in the craft iron and letting it heat up—it doesn’t take long. Make sure you have your wax blocks, some encaustic paper ready to go and a magazine or old paper to lean on.
2. Melt the Wax
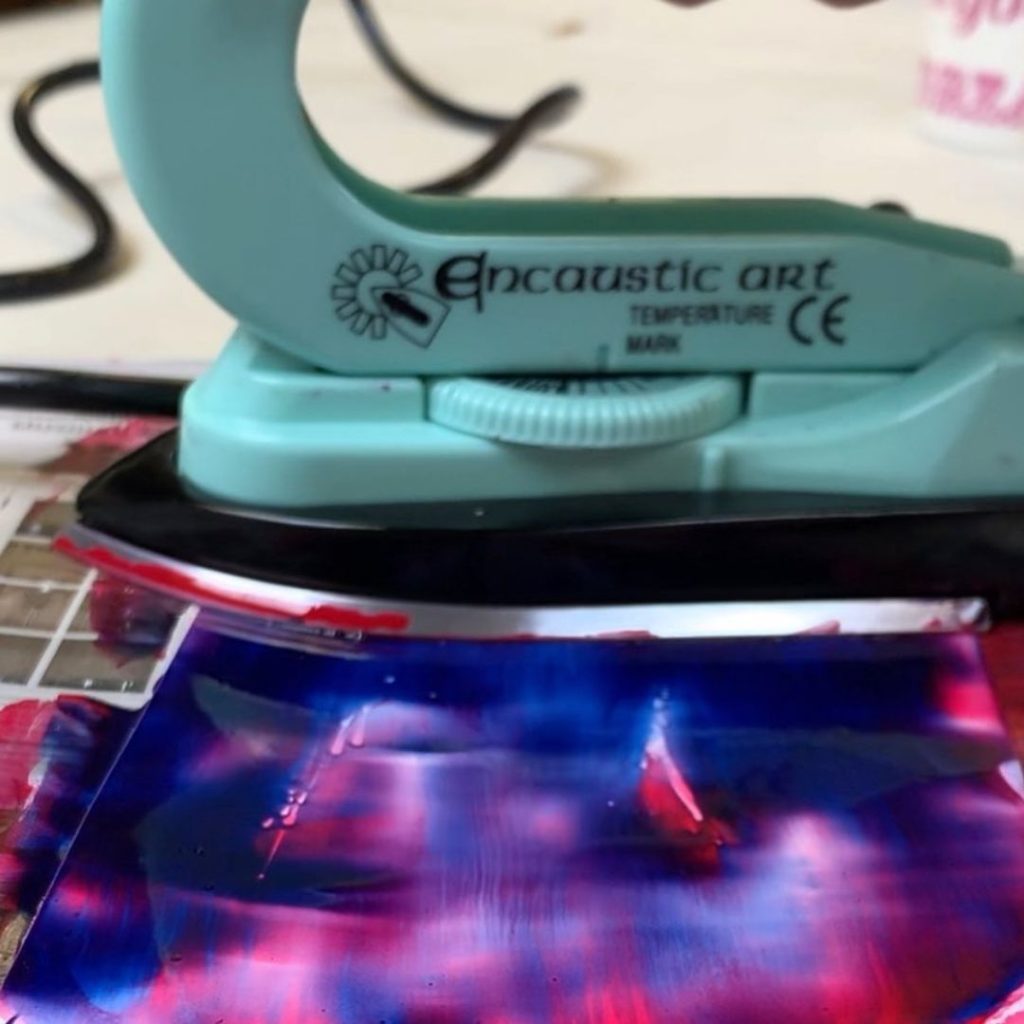
Turn the iron upside down and gently rub a wax block onto its surface. The wax will melt instantly, coating the base of the iron.
3. Apply the Wax to Paper
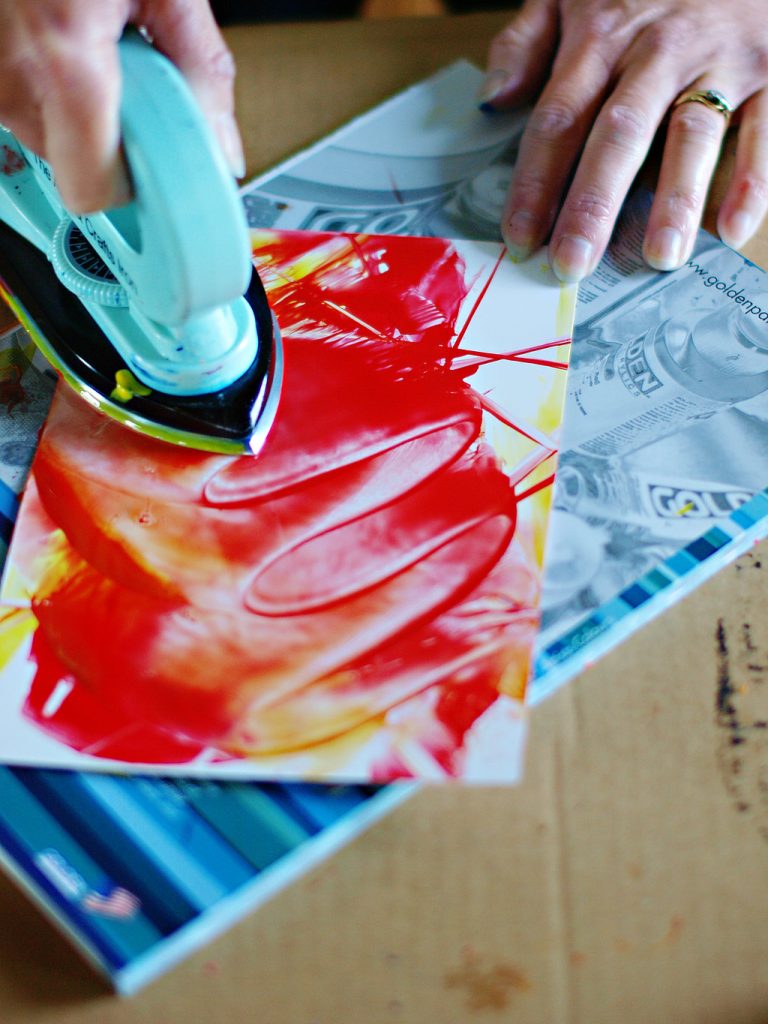
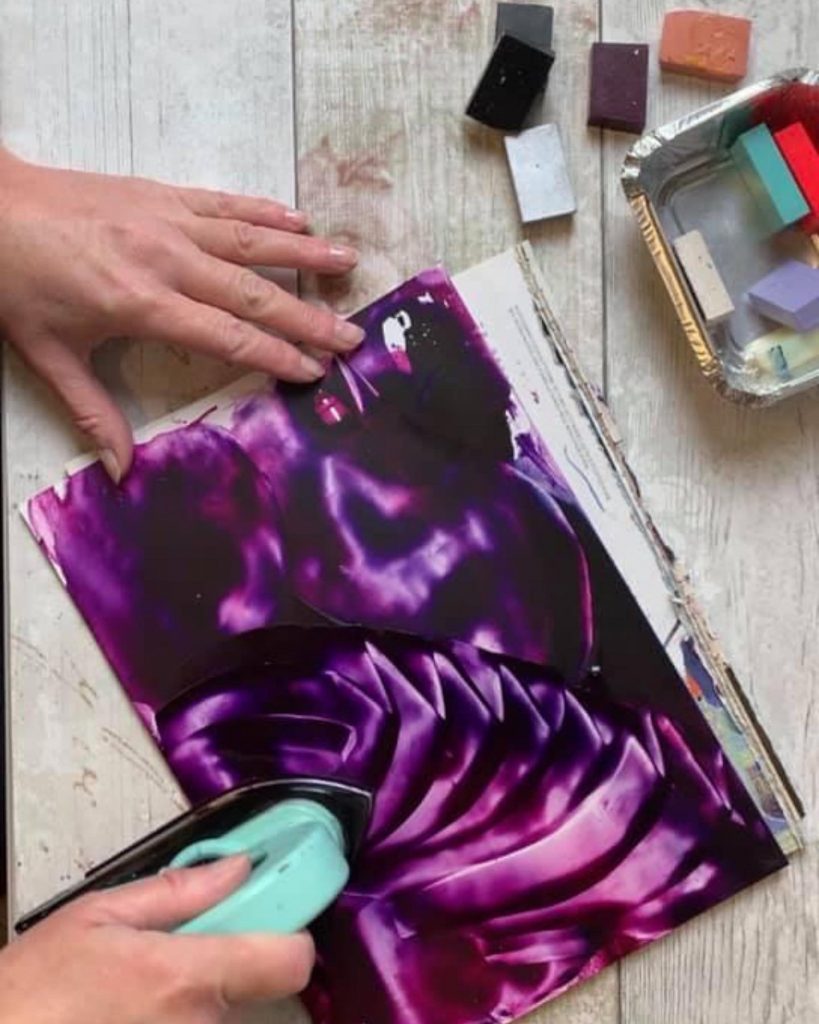
Flip the iron over and glide it steadily across your paper. The melted wax spreads quickly, creating a shiny, smooth layer. As the wax cools, it solidifies and turns matte—this means it’s ready for the next step.
4. Create Patterns and Textures
Now comes the fun part! Use different parts of the iron (the tip, edges, or flat surface) to create swirls, lines, and patterns. You can reheat and rework areas until you’re happy with the results. Don’t like how it looks? Just add more wax and start again—encaustic is incredibly forgiving!
5. Experiment with Effects
Once you’ve mastered basic techniques, try using the iron as a hot plate by disassembling it and working with the flat surface. You can introduce stamps, add layers, or experiment with blending colours. The possibilities are endless!
6. Clean the Iron
When you’re ready to switch colours, grab some toilet roll, turn the iron upside down, and carefully wipe it clean. Easy as that—your iron is ready for the next shade.
Why It’s Perfect for Beginners
This approach is ideal for anyone, from teenagers (with supervision) to grandparents. It’s fun, quick, and tactile—you’ll lose yourself for hours exploring the endless possibilities. You can even use your creations for greeting cards, gifts, or just as a relaxing way to unwind.
What Makes It So Special?
- Instant Gratification: You don’t need years of experience to create something beautiful.
- Low Pressure: Mistakes are easily fixed, so you can focus on enjoying the process.
- Creative Freedom: Experiment with colours, patterns, and tools to make each piece unique.
Watch this video to see hot wax painting in action! 👇
Ready to Dive In?
If you’ve been curious about encaustic art, this is your sign to give it a try! With just a craft iron and some wax blocks, you’ll discover a world of creativity that’s fun, forgiving, and incredibly rewarding. Start small, experiment, and most importantly—enjoy the journey!
Would you like to learn more encaustic techniques or find step-by-step tutorials? Explore my online encaustic courses and discover how to take your art to the next level from the comfort of your home. 🎨🐝✨💕
If you want some guidance, I’d recommend my foundational course, which includes three months of live support, course members group for Q&A’s and Zoom calls… The Art & Magic of Encaustic, it’s the perfect blend of support, encouragement and community!

[Encaustic Wax Painting]


