How To Make Simple Easy Cards Using Encaustic Wax
How would you love to create your own, special, unique hand made greetings cards for your family and friends…?
There’s nothing like the giving and receiving of a hand made greetings card. Even more so when it contains the magic and light of encaustic.
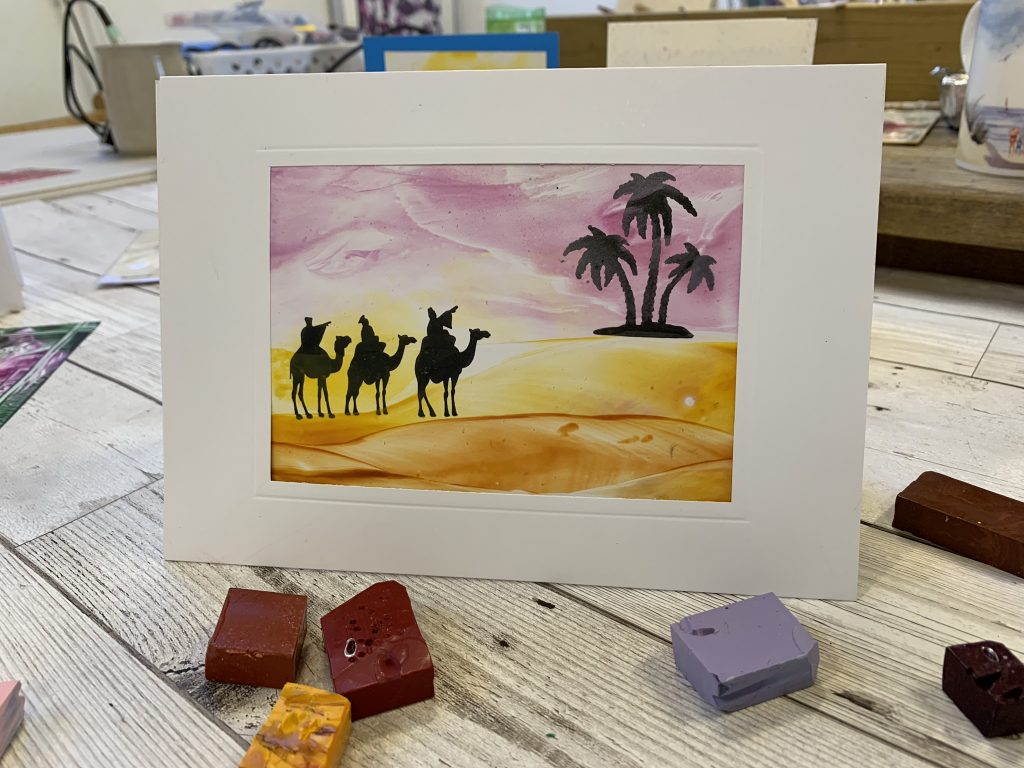
It’s easier than you might think to get effective designs like this, and super fun to do too…
I’ve created this tutorial to help you…
You Will Need*….
- Craft Iron
- A6 Encaustic Paper
- Encaustic Wax Blocks
- Stamps
- Ink
- Blank Aperture Cards
- Sellotape / Double Sided Tape
*If you don’t have the proper encaustic equipment, you could test it out with that old travel iron you never use, some wax crayons or candles, and photographic paper… the results won’t last for years to come, or be as spectacular, but it’ll be a great test to see if hot wax painting is for you.
Step One:
Stamp your paper with your design, and allow ink to dry fully.
Step Two:
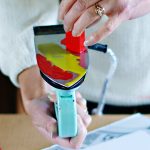
Melt wax onto your iron, and spread over the encaustic paper.
Use some clear wax to make the wax translucent to ensure you don’t totally loose your stamp image underneath.
Don’t panic if you loose your stamps or make a mess, you can simply go over it again! Keep remelting the wax until you create an effect you like.
You’ll find spreading molten wax incredibly therapeutic once you get the hang of it!
Use your iron like a ‘hovercraft’ over the paper, don’t push too hard, or you’ll scrape the wax off, this is all about gentle, light, smooth, buttery flow of wax… think smoothing melted chocolate over a light sponge cake, gentle and delicious!
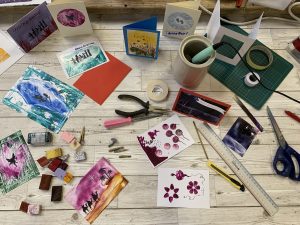
Keep practicing with lighter and darker colours and watch the difference in the results. Create a few encaustic cards at a time so you have a selection to choose from to turn into cards.
Step Three:
Creating your cards: Once you are happy with a design, fix it into your card aperture, (make sure you’re taping it in the right way up – oops… done that before!!!) and tape all edges down securely with sticky tape.
Here are a few more designs to inspire you:

Step Four:
As an extra touch, add a small stamp, or write on the back of the card, saying “This Card Was Handmade By…”
Send your beautifully finished creations to your nearest and dearest, and wait for the astounded reactions…!
Never seen encaustic in action before? Watch this short two minute overview!
To watch a step by step video of this tutorial, plus two extra videos, bursting with lots of different card and design ideas, check out my mini online course here… You will love making your own greetings cards for years to come.
Link to the kit you need is here:
I am an Amazon affiliate and might receive a commission if you buy through this link.
If you’re overseas and having trouble locating encaustic equipment, check stockists in your local area here.
